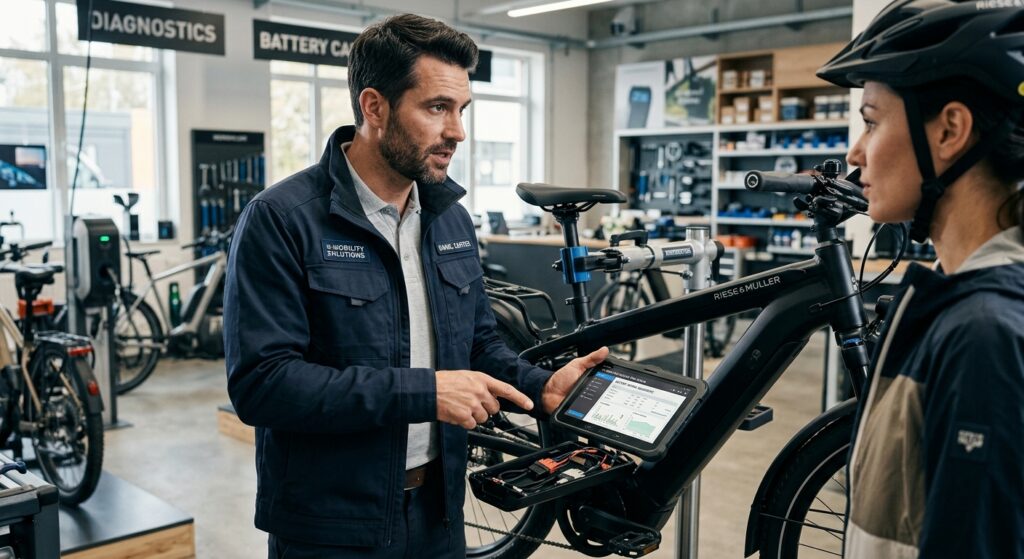
If your electric bike won’t turn on and nothing on the bike responds—no display, lights or normal startup—treat it as a no-power problem first.
Before replacing the battery or another expensive part, check the battery state, its seating and controls, the accessible power connections, and what happened immediately before the failure. If another electrical function still works, you may need a different troubleshooting path instead.
Stop Troubleshooting If You See These Warning Signs

Do the safety check before repeatedly pressing the power button, reseating components or connecting a charger.
Stop using or charging the bike if you notice:
- A swollen, cracked or seriously impact-damaged battery
- Smoke, an unusual odor or abnormal battery heat
- Burned or melted wiring or connectors
- Repeated sparking or arcing around a charging connection
- Significant water or submersion exposure
- A manufacturer or recall instruction telling you to stop using the bike
Do not open the battery or bypass its battery-management system as a routine troubleshooting step.
For charging, use equipment supplied or recommended as compatible by the manufacturer. The research used for this article records CPSC guidance warning against incompatible “universal” micromobility chargers.
If none of those conditions applies, continue with the external checks below.
First, Confirm That the Whole Bike Actually Has No Power

“Electric bike not starting” can describe several different problems. The quickest way to avoid troubleshooting the wrong system is to ask:
What still works?
| What you see | Best next path |
|---|---|
| No display, lights or other bike-side electrical function responds | Continue with the no-power checks below |
| The battery’s own indicator lights up, but the bike remains completely dead | Continue with the no-power path |
| The display is dark, but another electrical function still works | Investigate the display or its connection |
| The display turns on, but the motor will not assist | Switch to motor/control troubleshooting |
| The bike operates normally but will not charge | Switch to charging-system troubleshooting |
This distinction matters because a completely dead bike, a dead display and a powered bike with no motor assistance are different diagnostic states. The supplied SERP research specifically identifies that distinction as central to this query.
A dark display does not always mean the whole bike is dead
Check for another sign of bike-side electrical power, such as lights or another control your model normally provides.
If something else works, the problem may be concentrated around the display, wiring or communication path rather than the bike’s entire main power supply.
If nothing responds, continue below.
Nothing Powers Up? Check the Main Power Path in This Order

Work from simple, external observations toward the point where model-specific electrical diagnosis becomes necessary.
1. Check what the battery tells you
If the battery has its own charge indicator, press or read it according to the manufacturer’s instructions.
There are two useful observations:
No battery indication: The battery state itself needs further investigation. That does not prove the battery has failed.
Battery indicates charge: You now know the indicator responds. You have not proved that usable power is reaching the rest of the bike.
That difference becomes important later.
2. Check the key, switch and normal startup sequence
Depending on the e-bike, startup may involve a battery switch, key position, display button or another model-specific sequence.
Confirm that you are using the procedure in the exact bike or drive-system manual.
Avoid generic reset combinations found for another brand. Startup behavior, reset procedures and error handling can be system-specific, and the supplied research flags these items for manufacturer-level verification.
3. Make sure a removable battery is fully seated
A battery can look installed without being fully engaged with its mount.
With the system off and following the manufacturer’s handling instructions:
- Check that the battery sits in its normal position.
- Confirm that the latch or lock engages correctly.
- If the manufacturer permits removal and reseating, reinstall it carefully.
- Do not force a battery that does not fit or latch normally.
If the bike suddenly works after proper reseating, verify normal operation cautiously rather than immediately assuming the underlying issue can never recur.
4. Inspect accessible contacts and connections
Look only at electrical connections that the manufacturer intends the owner to access.
Check for obvious signs such as:
- A connector that is visibly loose
- Bent or damaged accessible contacts
- Corrosion or contamination
- Burning or discoloration
- Melted plastic
- Evidence that the battery is not meeting its mount correctly
Do not bridge contacts, probe internal battery electronics or improvise repairs to high-current connectors.
A burned, melted, sparking or abnormally hot connection is a reason to stop ordinary DIY troubleshooting.
5. Think about temperature and storage
If the bike stopped working after long storage or unusually hot or cold conditions, that context matters.
Do not assume one temperature limit applies to every e-bike. Charging limits, operating limits and battery-protection behavior can vary by battery and drive system.
Check the manufacturer’s instructions before charging, restarting or concluding that a component has failed.
6. Try only the manufacturer-documented startup procedure
At this point, check the exact manual for your bike, battery or drive system.
Look specifically for:
- Normal startup sequence
- Battery switch or key position
- Indicator-light meanings
- Documented error codes
- Manufacturer-approved reset procedures
- Current product-specific safety or recall instructions
If the basic external checks are normal but the bike remains completely dead, guessing another component is unlikely to help.
Battery Shows Charge but the Bike Is Still Dead? Don’t Replace It Yet

This is one of the most useful diagnostic branches because a battery indicator can easily create false confidence about the rest of the electrical system.
A lit charge gauge tells you something about the battery or its indicator circuit. It does not, by itself, prove that:
- The battery is correctly connected to the bike
- Power is passing through the battery mount as intended
- The controller is receiving its required supply
- The display or startup circuit is receiving power
- The battery can deliver normal operating power
- The battery, controller or another specific part has failed
The practical conclusion is simple:
“The battery says full” and “the bike is receiving usable battery power” are not the same finding.
The source research specifically recommends treating this as a separate diagnostic branch rather than using battery indication to declare a failed component.
When the next test is no longer a basic DIY check
Suppose all of the following are true:
- The battery indicates charge
- It is correctly installed
- The normal switches and startup sequence are correct
- Accessible connections show no obvious problem
- There are no safety warning signs
- The entire bike still has no meaningful startup response
At that point, the fault may be somewhere farther along the battery-to-bike power path.
Determining exactly where can require model-specific testing of the battery output, mount, wiring, controller input or protection systems. That is different from looking at an external connector or reseating a removable battery.
Do not jump from “battery full but bike dead” to “the controller is bad.” The observation narrows the problem; it does not identify the failed component.
What Changed Just Before the Bike Stopped Working?

When basic checks do not reveal the cause, timing can provide the next useful clue.
Instead of asking only what part could fail, ask what changed before the failure appeared.
After storage
If the bike worked before storage and is now completely dead, note:
- How long it was stored
- Where the battery was stored
- Whether it was charged during storage
- Whether temperatures were unusually hot or cold
Use that information when checking the battery manufacturer’s storage and recovery instructions.
After rain, washing or other water exposure
Water changes the safety and diagnostic pathway.
If the failure began immediately after substantial exposure, do not repeatedly power-cycle or charge a visibly wet or damaged electrical system in an attempt to make it recover.
The exact water resistance of the bike, battery, display and connectors is model-specific. Follow the manufacturer’s guidance rather than relying on a universal drying time or generic IP-rating assumption.
After a crash or impact
A recent impact makes physical damage and disturbed connections more relevant.
If the battery itself suffered a serious impact or shows physical damage, treat that as a safety issue rather than continuing ordinary startup tests.
After maintenance or component work
If the bike stopped starting after battery, controller, display, handlebar, wheel or other electrical work, mention that sequence when seeking support.
The timing does not prove which part is responsible, but it gives a technician a much stronger starting point than an unrelated component guess.
After unusual heat
If the bike became unusually hot before shutting down or now has an abnormally hot battery, wiring or connector, switch to the appropriate heat/safety troubleshooting path.
Do not assume every heat-related shutdown means a component has permanently failed. Exact protection behavior and temperature limits require model-specific documentation.
The supplied research treats storage, water, impact, recent work and temperature as routing clues rather than automatic diagnoses.
Switch Troubleshooting Paths When the Symptoms Don’t Fit No Power

Do not keep following a no-power checklist simply because your original description was “the bike won’t start.”
Use what the bike is actually doing now.
If the display or lights work:
The bike has at least some electrical power. If the motor does not respond, move to motor, brake-cutoff, throttle, pedal-assist and sensor troubleshooting.
If another electrical function works but the display is dark:
Move to display troubleshooting.
If the bike runs but the battery will not charge:
Move to charging-system troubleshooting. A riding-power problem and a charging problem follow different electrical paths.
If the bike shuts off only while riding:
Treat it as an intermittent power-loss problem rather than a startup failure.
If the failure followed substantial water exposure:
Use a water-exposure troubleshooting path before ordinary electrical diagnosis.
If abnormal heat is the main symptom:
Use the overheating path and identify what is becoming hot before continuing.
The supplied content architecture deliberately separates these states so that “won’t turn on,” “won’t charge,” “display not working” and “powers on but won’t move” do not collapse into one oversized troubleshooting page.
When to Stop DIY Troubleshooting

Basic external checks are useful because they can rule out simple causes without assuming a component has failed.
The boundary changes when the next step requires opening components or making internal electrical measurements.
Manufacturer or qualified professional diagnosis is the better next step when:
- The battery shows charge but the bike remains completely dead after the external checks
- A battery or power connector is damaged
- You see melting, burning, sparking or abnormal heat
- Significant water or impact exposure preceded the failure
- The problem is intermittent and cannot be reproduced safely
- An error code requires model-specific interpretation
- The next step involves opening the battery
- Someone would need to bypass the BMS or another safety system
- Controller-input, internal fuse, high-current wiring or similar electrical testing is required
- Warranty or recall status may affect the correct repair procedure
The research used for this page specifically places BMS, controller-input, voltage and other advanced diagnosis outside the ordinary owner-level no-power sequence.
Before You Contact the Manufacturer or a Technician

You can make the next diagnosis faster without guessing which component has failed.
Record these four things:
- What still works?
Battery indicator, display, lights or nothing at all? - When did the bike fail?
At startup, after storage, after a ride or intermittently? - What changed beforehand?
Rain, impact, maintenance, a component change, unusual temperature or nothing obvious? - Are there any safety warning signs?
Heat, swelling, odor, sparking, melting, physical battery damage or substantial water exposure?
Also have the bike model, battery model, drive-system information and any exact error code available.
That is more useful than telling support, “I think the battery is bad.”
If the bike remains completely dead after the safe external checks, do not start replacing parts at random. The next useful step is a model-specific power-path diagnosis using the manufacturer’s procedure or a qualified e-bike technician.